
Uploading activity photos

Did you know that photography significantly influences families when deciding on an extracurricular activity for their children? Let's walk through the simple process of uploading photos to enhance your activity:
Take a photo
No need to be a professional photographer! Capture moments with your phone, then transfer them to your computer via email or Airdrop. Snap shots of yourself, your supplies, facilities, and activities to set realistic expectations for families. Make sure these are high quality pictures.
Don't forget to connect with attendees; they might have captured fantastic moments worth sharing. You may add a waiver, which can include a clause granting permission to capture photos during the activity. This way, you can use these images to enhance your activity for your future schedules.
If all else fails, explore free image banks like Unsplash for suitable pictures. Choose wisely, make sure you do not generate false expectations.
Upload photo
If you're creating your activity:
- Tap "upload from device."
- Select a photo (PNG or JPG) from your device folder.

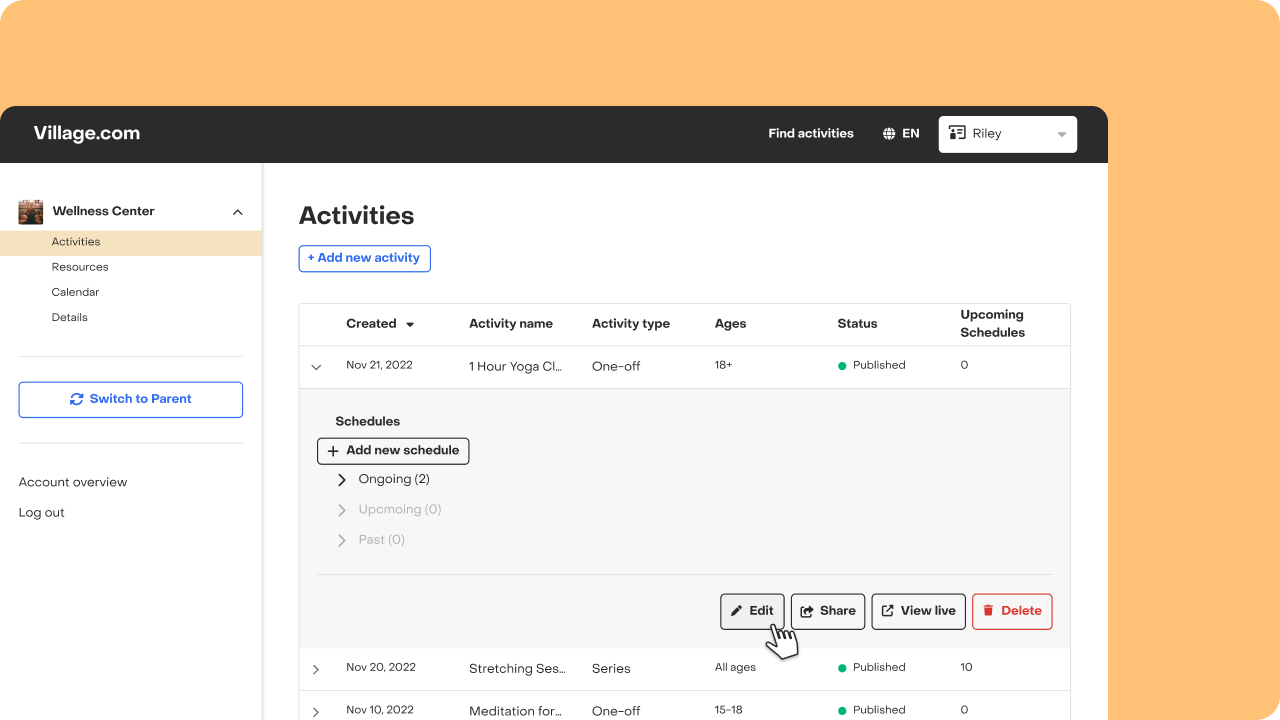
If your activity is already published:
- Locate your activity in the Activity tab.
- Open details and tap "Edit."
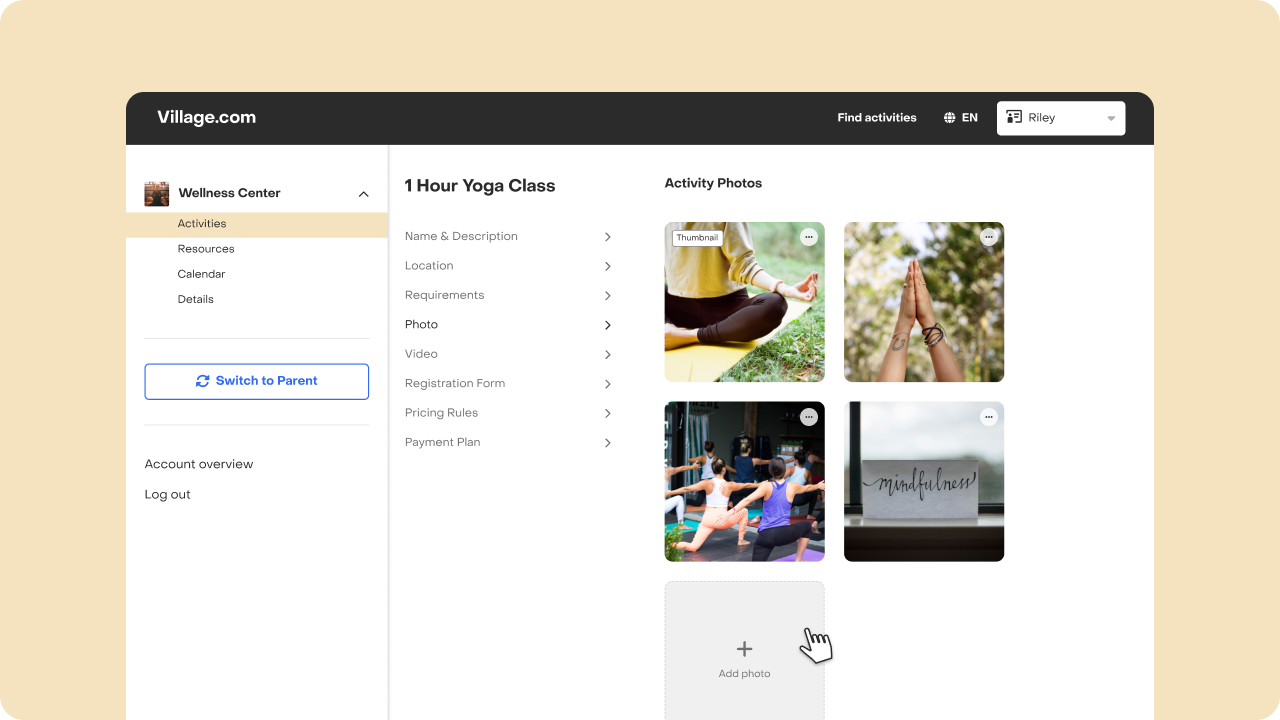
- Navigate to the "Photo" tab.
- Tap "Add Photo."
- Choose a photo (PNG or JPG) from your device.
My photo is not uploading! Why? There are no size restrictions, so maybe the file is too heavy, Village supports files up to 5GB.
Crop
Your image will appear on the cropping tool. Create a square image using the zoom slider, adjusting the framing as needed.
Hierarchize and order
Tap the ellipsis menu on the top right corner of each picture to reorder the gallery. The first three pictures will be the initial impressions families see on your activity page, so choose the most appealing ones for this spot.
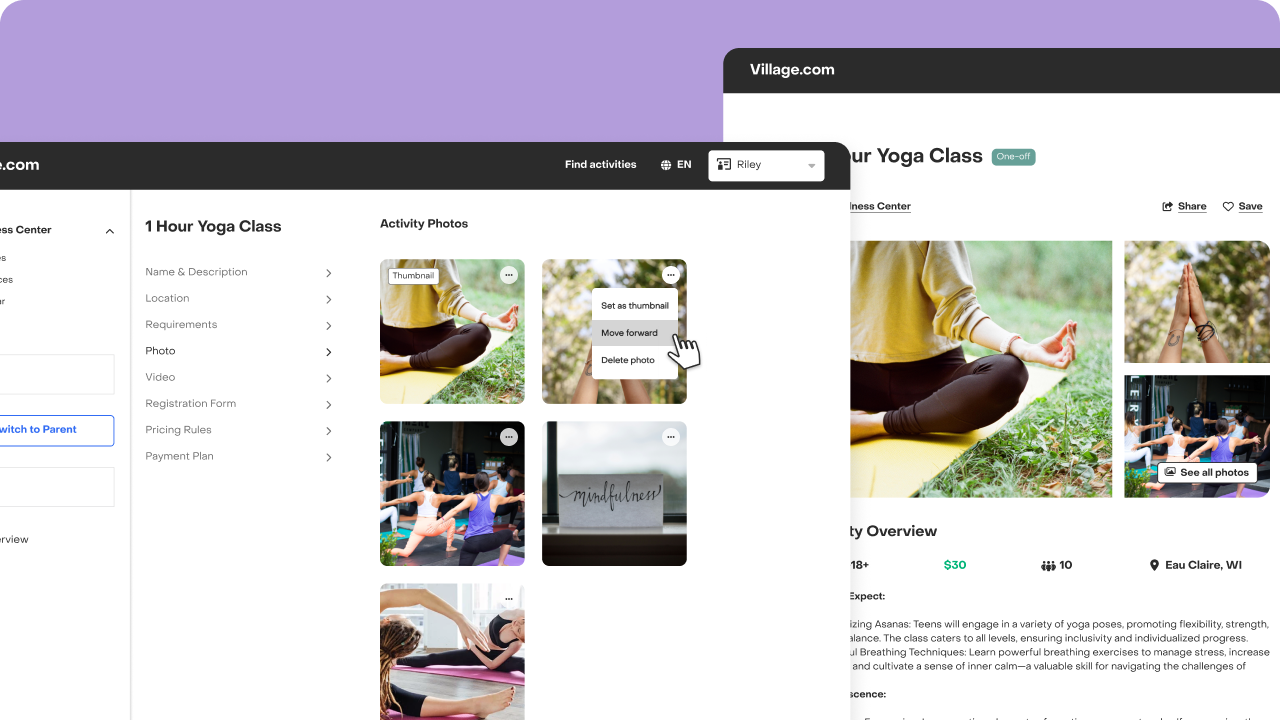
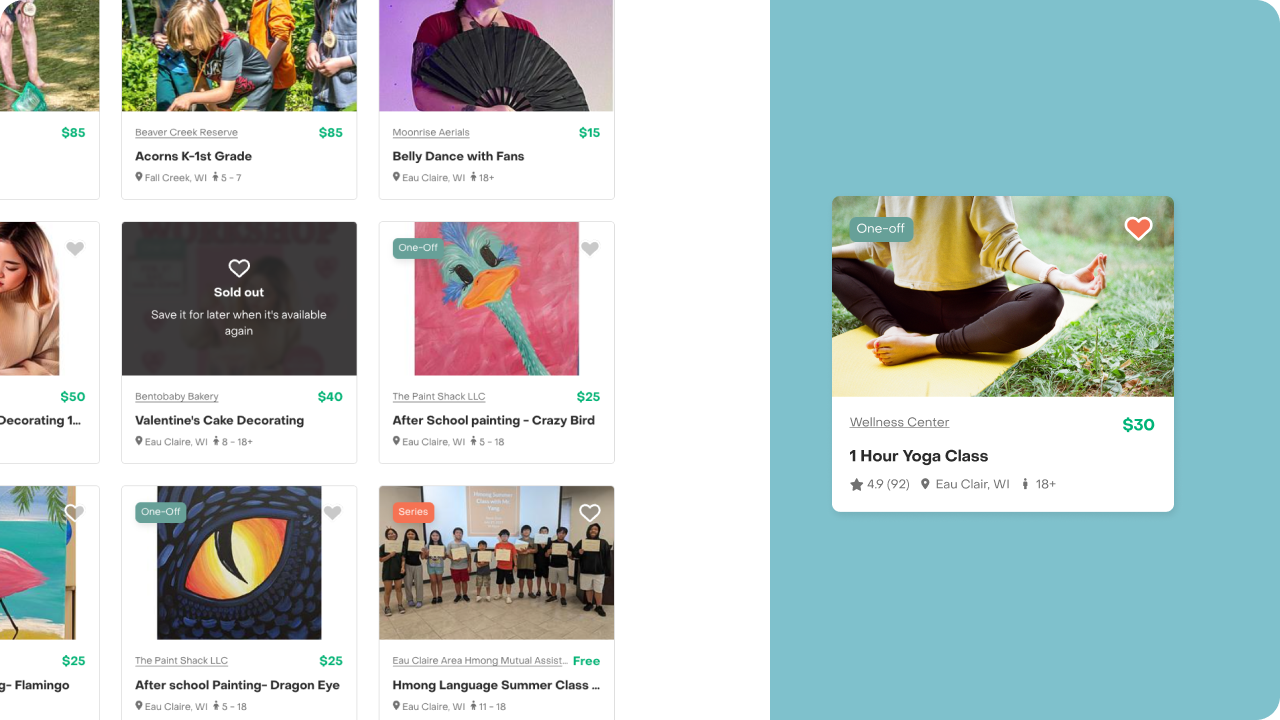
Set your thumbnail photo
The thumbnail photo is the preview card image for your activity. The first picture uploaded becomes the default thumbnail, but you can change this by tapping the ellipsis button on the top right corner of your chosen picture. Note that the thumbnail picture is independent of gallery order.
Delete photo
On the ellipsis menu on the top right corner of each picture you will find the “delete photo” button. Notice that you can’t delete a thumbnail photo. In order to do that, you need to pick a new thumbnail photo first.
Enhance your activity's appeal and make a lasting first impression with captivating photos. Families love to visualize the experience, and a picture truly is worth a thousand words!

