
Waitlist: a step-by-step guide

This is a beta feature currently under development. As we continue to make improvements, you may notice changes or updates along the way. We appreciate your feedback and patience as we enhance your experience!
The waitlist feature allows customers to express interest in an activity when they can’t sign up immediately—either because the schedule is full or the registration period has ended. By enabling the waitlist, you can keep your activities full and gain valuable insights into demand, helping you make informed decisions such as:
- Opening a new schedule to accommodate more participants.
- Increasing the schedule’s capacity.
- Extending the registration period.
Enable the waitlist
To set up a waitlist for your activity, follow these steps:
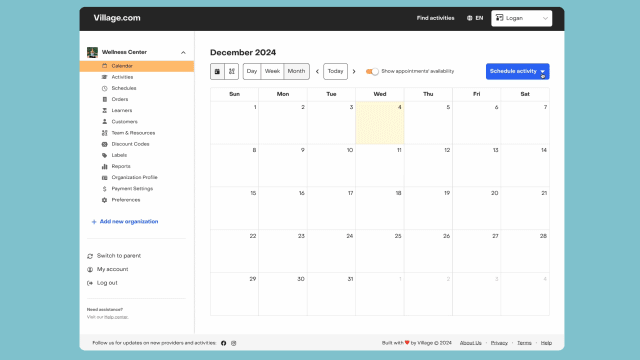
- Go to the “Calendar” tab.
- Select the schedule you want to enable the waitlist for by clicking on an event block and clicking the edit icon or add a new schedule by clicking on “Schedule activity”.
- Enable the waitlist: Scroll down to the “Waitlist” section, located just below the “Capacity” settings, and drag the toggle to the right.
- Choose a waitlist configuration that works best for you:
- Standard configuration:
- Ideal for quickly filling spots with minimal effort.
- How it works:
- Customers on the waitlist are automatically notified when a spot becomes available.
- Spots are not reserved for those on the waitlist—anyone can claim an available spot.
- Full Control configuration:
- Perfect for managing exactly who can register from the waitlist.
- How it works:
- Registration is closed to the public when the waitlist exceeds available spots.
- You can manually send invitations to specific customers on the waitlist, giving them access to register.
- Standard configuration:
- Save your changes to activate the waitlist for the schedule.
Collect Interest: How the waitlist works for customers
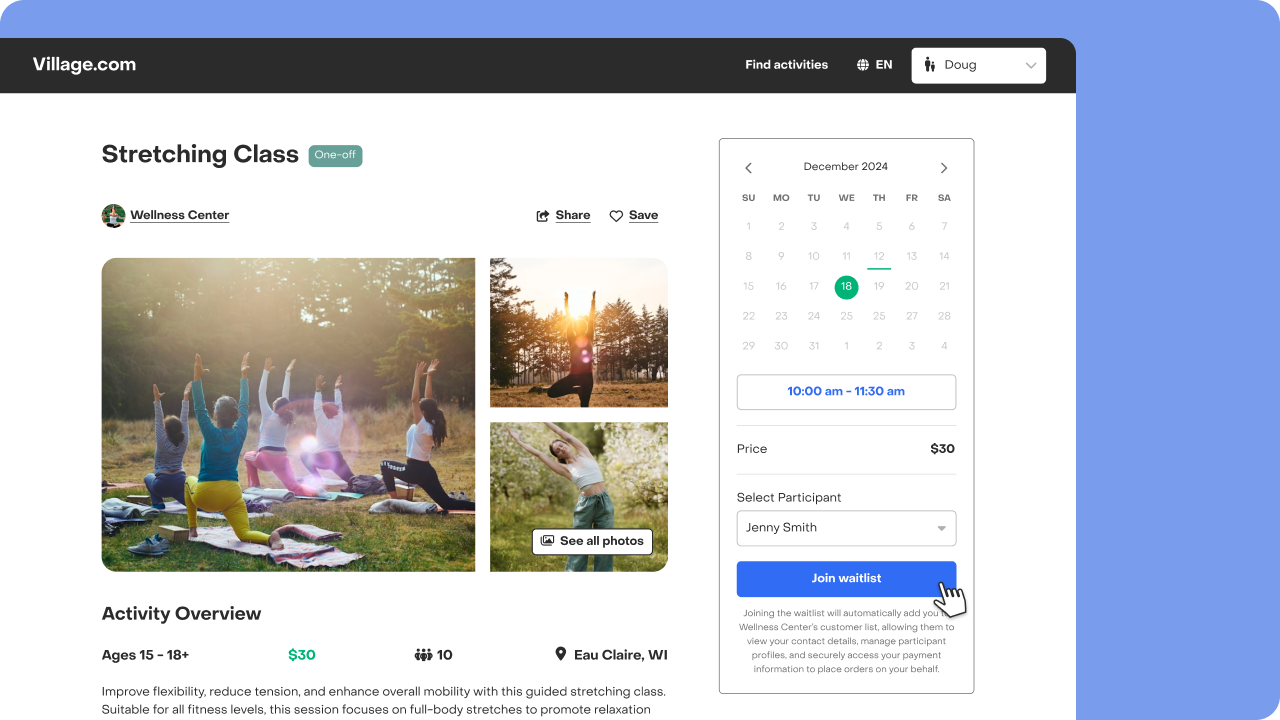
Once the waitlist is enabled, customers who find the schedule full or miss the registration deadline can still join the waitlist until the event starts. When signing up for the waitlist, customers can also leave optional notes, such as special requests or preferences, to help you better understand their needs.
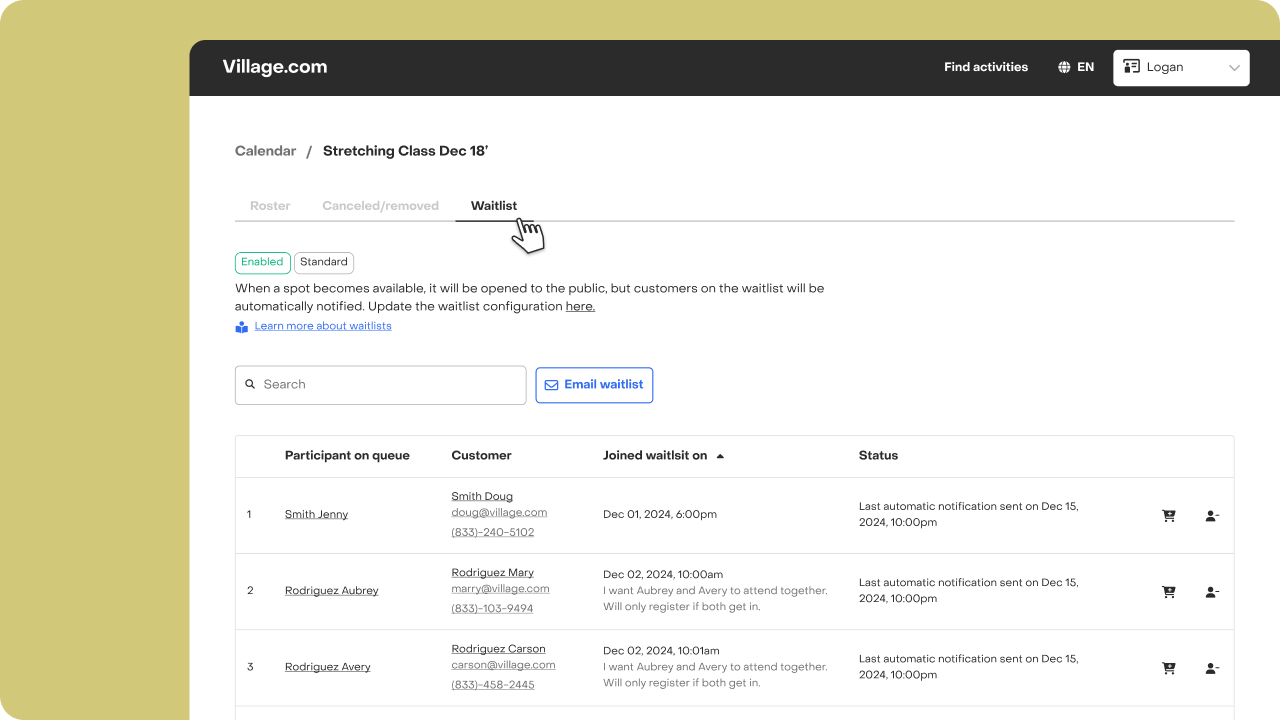
Viewing the waitlist
To see the list of customers who have joined:
- Go to the schedule roster.
- Select the Waitlist tab.
The waitlist is automatically ordered by the date and time customers joined, giving you a clear view of who signed up first.
Moving customers from the waitlist to the roster
Now that you’ve set up a waitlist, who gets to sign up when a spot becomes available? That depends on the waitlist configuration you selected:
- Standard configuration: When spots open up, the general public will be able to register since spots are NOT reserved for customers on the waitlist. However, customers on the waitlist receive an advantage: as soon as a spot becomes available, they are automatically notified via email. Learn more about managing a Standard waitlist here.
- Full Control configuration: If the number of participants on the waitlist is higher or equal than the available spots, registration is automatically closed to the general public. You have the power to decide who on the waitlist gets an invitation to register. Learn how to manage a Full Control waitlist here.
Updating or disabling the waitlist
Need to make changes? You can update the waitlist configuration or disable it anytime by editing the schedule.
By using the waitlist feature, you can better manage demand and ensure no opportunity goes to waste.

